Trash to Treasure
Trash to Treasure: Creative Flower Planters Using Repurposed Trash Cans
I repurposed two inexpensive trash cans into beautiful planters, and they've become my favorite planters in my greenhouse. And yes – I meant to say trash cans!
It’s such a simple project and it looks so good that no one will ever know they are trash cans!
Here’s a step-by-step guide to creating your own trash can planters:
Materials Needed
- 2 inexpensive trash cans (I bought mine from Walmart)
- Drill
- Mulch (or any other type of filler)
- Soil
- Colorful flowers of your choice
- (Optional) Adjustable plant stands
Step-by-Step Guide
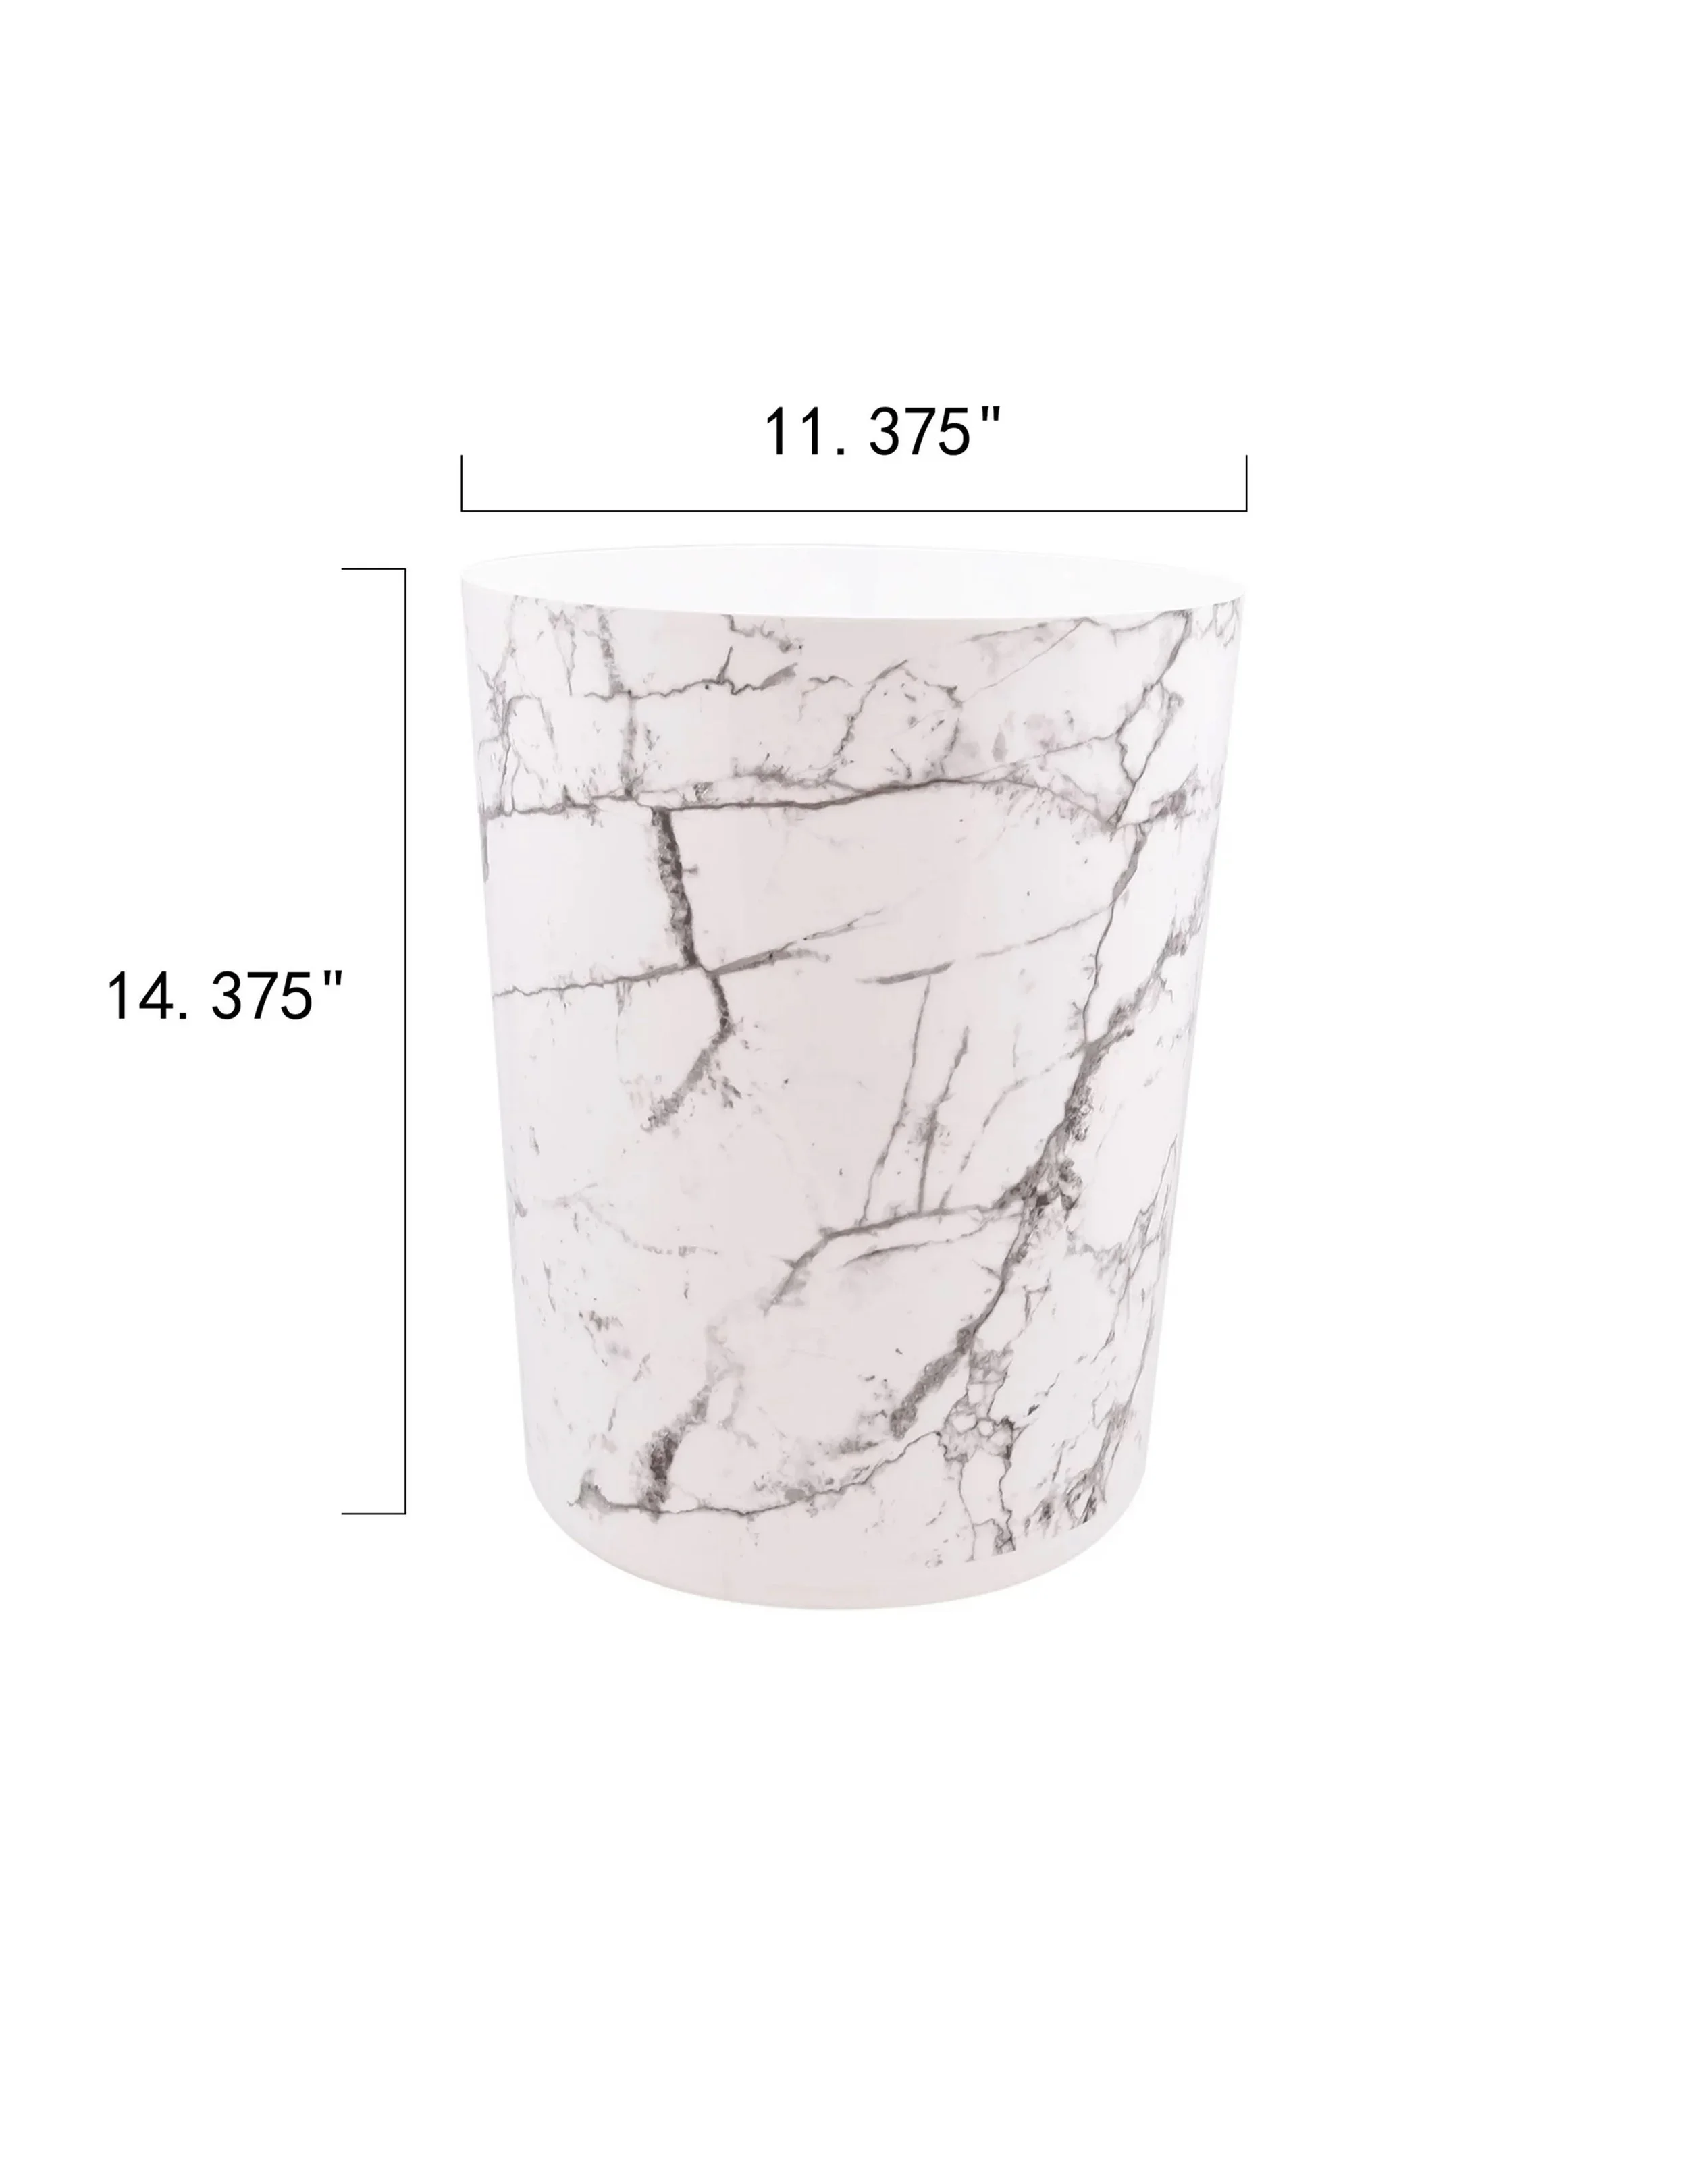
1. Purchase Trash Cans: I found two budget-friendly trash cans at Walmart. They were the exact cylinder shape that I was looking for. I went with black stripes but they also had a classy faux marble option or a sleek modern black. You can choose any size or style that fits the aesthetic of your outdoor space.
2. Drill Drainage Holes: To ensure proper drainage, drill several holes in the bottom of each trash can. This prevents water from accumulating and keeps your plants healthy.
3. Add Mulch: Fill the trash cans halfway with mulch or any filler that you prefer. This helps with drainage and reduces the amount of soil needed.
4. Add Soil and Flowers: Fill the remaining space with soil, leaving a little room at the top for planting. Add your favorite colorful flowers.
5. (Optional) Add Plant Stands: For an added touch, I placed my trash can planters on wooden adjustable plant stands. This gives them some height and helps disguise their trashcannyness :)

The Results
I love how these turned out!
Anyone can do this project, and the result is a fun addition to your outdoor space.
It’s a small investment that makes a big impact. Next time you are looking for a planter, take a stroll down the trash can aisle. Give it a try, and let me know how it turns out!
Happy Planting!


